Importance of a Home Inventory
Disasters, whether natural or accidental, can strike at any time, leaving behind significant damage and loss.

The Grand Piano
When it comes to recovering from such events, having a comprehensive home inventory can be a lifeline. A detailed list of your possessions not only aids in the homeowner insurance claim process but also helps in the recovery and replacement of lost items. By documenting what you own, you provide clear evidence of ownership and the condition of your belongings, ensuring a smoother and faster claims process. Moreover, a home inventory allows you to accurately assess the value of your possessions, helping you determine whether your current insurance coverage adequately meets your needs.
Why Google Drive?
In the digital age, leveraging technology to safeguard your assets is a smart move. Google Drive, a cloud-based storage service, offers numerous advantages for creating and maintaining a home inventory:
- Accessibility: Google Drive allows you to access your inventory from anywhere, at any time, as long as you have an internet connection. This means you can quickly retrieve your documents even if you are away from home or your computer.
- Security: By storing your inventory in the cloud, you protect it from physical damage that might destroy paper records or data stored on local devices. Google Drive also offers robust security features, including encryption and secure sharing options.
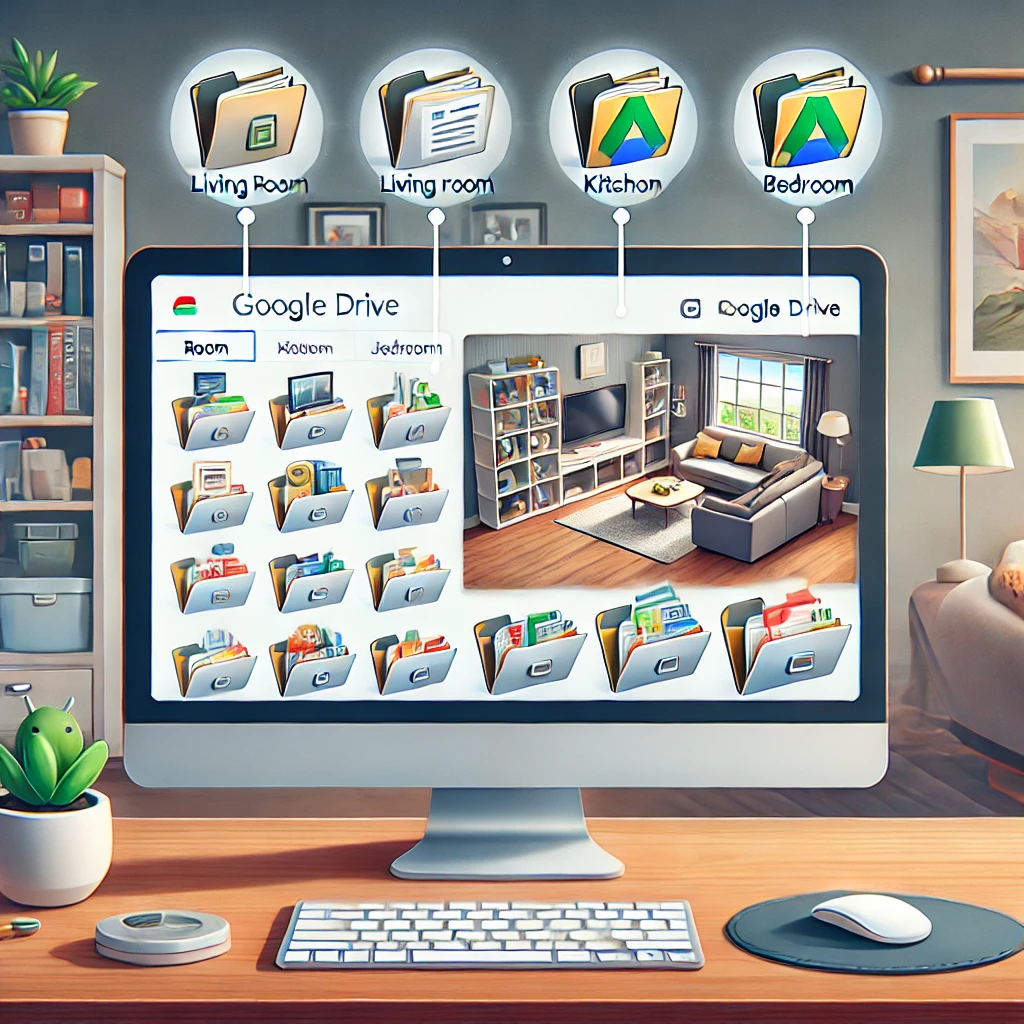
- Organization: Google Drive's intuitive folder system makes it easy to categorize and organize your inventory by rooms or item types. You can create subfolders for each room in your house and store corresponding photos, videos, and documents within them.
- Collaboration: If you need assistance in documenting your belongings, Google Drive allows you to share access with family members or friends. This collaborative feature can be particularly useful when compiling comprehensive lists and verifying details.
- Backup and Sync: Google Drive can sync with your other devices, ensuring that your inventory is always up-to-date. Automatic backups mean you never have to worry about losing your data due to hardware failures or accidental deletions.
- Searchability: Google Drive's powerful search functionality allows you to quickly find specific items or documents within your inventory. This can save you significant time during the claims process or when updating your records.
By using Google Drive, you take a proactive step in protecting your valuable assets. This workbook will guide you through the process of creating a detailed home inventory, organizing it efficiently, and securing it in the cloud. With these tools and strategies, you can ensure that you are well-prepared for any unforeseen events, giving you peace of mind and a clear path to recovery.
When we first decided to create a home inventory, the task seemed overwhelming. We knew we needed a system that was not only easy to use but also secure and accessible from anywhere. That's when we turned to Google Drive. Setting up our Google Drive account was simple and quick. With just a few clicks, we had a new Shared Drive named after our home address, ready to be organized.
We started by creating folders for each room in our house. This made it easy to keep track of where each item belonged. Naming the folders using a consistent format, such as "MF-Kitchen" for the main floor kitchen and "SF-BR1" for the first bedroom on the second floor, helped us stay organized.
Using our smartphones, we began the process of documenting our belongings. For each room, we took a slow 360-degree video, capturing every detail from all angles. This was followed by taking still photos of specific items and areas in landscape mode. Each photo and video was then uploaded to the corresponding folder in our Google Drive.
We found it incredibly useful to have Google Drive accessible on our phones. Not only could we easily add new items to our inventory on the go, but we also felt secure knowing that our data was backed up in the cloud. Sharing the drive with family members ensured that everyone could contribute and access the information when needed.
The process of organizing and naming our files made everything much more manageable. Using descriptive names for our photos, videos, and documents meant that we could quickly find any item when reviewing our inventory.
Through this journey, we discovered the importance of a well-organized and accessible home inventory. Google Drive provided us with the perfect platform to ensure our valuable assets were documented and secure.
Checklist
Here's a checklist in Google Sheets format to help you get started with your home inventory:
| Task | Status |
|---|---|
| Create a Google Account | [ ] |
| Access Google Drive | [ ] |
| Create a New Shared Drive | [ ] |
| Name the Shared Drive (e.g., "1234 Elm Street") | [ ] |
| Create Folders for Each Room | [ ] |
| Install Google Drive App on Phone (Android/iOS) | [ ] |
| Log into Google Drive on Phone | [ ] |
| Gather Equipment (Smartphone, Camera, Notebook) | [ ] |
| Take 360-Degree Videos of Each Room | [ ] |
| Take Still Photos of Each Room | [ ] |
| Upload Photos and Videos to Corresponding Folders | [ ] |
| Name Files According to Room and Date | [ ] |
| Scan and Upload Receipts and Warranties | [ ] |
| Share Drive with Trusted Individuals | [ ] |
| Set Permissions for Shared Drive | [ ] |
| Collaborate and Ensure All Items Are Documented | [ ] |
Setting Up Google Drive
Creating a Google Account
- Visit the Google Sign-Up Page:
- Go to Google Account Sign-Up.
- Fill in Your Information:
- Enter your first and last name.
- Choose a username for your email address.
- Create a strong password and confirm it.
- Complete the Verification:
- Follow the prompts to verify your account using your phone number.
- Enter the verification code sent to your phone.
- Finalize Your Account:
- Add a recovery email address, date of birth, and gender.
- Accept Google’s terms and conditions.
Accessing Google Drive

- Go to Google Drive:
- Visit Google Drive.
- Sign In:
- Use your Google account credentials to log in.
Organizing Your Drive
Creating Main Folders for Home Inventory
- Open Google Drive:
- Navigate to the Shared Drives tab on the left side.
- Create a New Shared Drive:
- Click the + New button to create a new Shared Drive.
- Name the Drive using the address of your home for easy identification (e.g., "1234 Elm Street").
- Add Folders for Each Room:
- Open your newly created Shared Drive.
- Click the + New button and select Folder.
- Use the following naming convention for folders:
- Main Floor Rooms: MF-BR1, MF-MasterBR, MF-MasterBath, MF-Master-Closet, MF-Kitchen, etc.
- Second Floor Rooms: SF-BR1, SF-BR2, SF-Bathroom, SF-Office, etc.
- Basement Rooms: BSMT-LivingRoom, BSMT-BR1, BSMT-Storage, etc.
- Other Areas: Garage, Attic, Yard, etc.
How to Get the Google Drive App on Your Phone
- For Android:
- Open the Google Play Store.
- Search for Google Drive.
- Tap Install.
- For iOS:
- Open the App Store.
- Search for Google Drive.
- Tap Get and then Install.
How to Log into Google Drive on Your Phone
- Open the Google Drive App:
- Enter your Google account email and password or create a new account if needed.
- Two-Factor Authentication:
- If enabled, follow the prompts to complete the login process.
- Navigate to Your Shared Drive:
- Once logged in, locate and open your Shared Drive.
Tools and Materials Needed
Equipment for Documenting Your Home Inventory
- Smartphone or Camera:
- Ensure your device is capable of taking clear photos and videos.
- Spreadsheet Software:
- Use Google Sheets for organizing detailed lists of your belongings.
- Notebook for Notes:
- Keep a physical notebook handy for jotting down details during the documentation process.
Adding Videos and Pictures to Each Room's Shared Drive Using Your Phone
Taking a Slow 360 Video in Portrait Mode
- Open the Correct Room’s Folder:
- Navigate to the specific room's folder in the Shared Drive.
- Start Recording:
- Tap the + button to add an item, then choose Camera, and select Video Mode.
- Stand in the middle of the room and start recording.
- Slowly make a full circle of the room, capturing all walls, furniture, and other items.
- Videoing Additional Storage Areas:
- Create a new folder within the room's folder for closets or storage areas and video them separately.
Taking Still Shots in Landscape Mode
- Capture All Angles:
- After taking the video, stand against the center of one of the room's walls.
- Take a landscape photo, then move to a corner and take another photo.
- Repeat the process around the room until all areas are covered.
- Save Photos:
- Save the photos in the correct shared folder.
Organizing and Naming Your Files
Naming Conventions for Videos and Photos
- Videos:
- Name the videos according to the room and date (e.g., "MF-MasterBR-2024-06-19.mp4").
- Photos:
- Use a similar naming convention for photos (e.g., "MF-Kitchen-2024-06-19-1.jpg", "MF-Kitchen-2024-06-19-2.jpg").
- Additional Documentation:
- Scan and upload receipts, warranties, and other important documents related to your home's contents.
- Name these files descriptively (e.g., "MF-LivingRoom-Sofa-Receipt.pdf").
Sharing and Accessing Your Drive
Sharing Your Drive
- Share the Entire Drive or Specific Folders:
- Click on the Share button and enter the email addresses of trusted individuals (e.g., family members, insurance agents).
Setting Permissions
- Assign Access Levels:
- Choose whether the individuals can view, add, or edit files based on the permissions you set.
Accessing the Drive
- Collaboration:
- Members with access can view, add, or edit files, which is useful for collaborative documentation or when you need someone else to add information.
By following these steps, you can set up an efficient and organized home inventory using Google Drive, ensuring that your valuable assets are well-documented and secure.

