How to Use Google Drive, Your Mobile Phone, and Computer to Document Your Home and Property Easily
In today’s world, being prepared for unexpected events is crucial. One of the best ways to protect your home and property is by creating a comprehensive inventory of your belongings. This step-by-step guide will show you how to use Google Drive, your mobile phone, and your computer to document your home and property easily. Doing so will ensure you have everything you need for insurance, should anything happen.
Why Document Your Home and Property?
Documenting your home and property can provide numerous benefits, including:
- Peace of Mind: Knowing you have a detailed record of your belongings can give you peace of mind in theft, fire, or natural disaster.
- Insurance Claims: A comprehensive inventory can expedite the insurance claims process and help ensure you receive fair compensation.
- Organization: Keeping an organized record of your belongings can help you stay on top of maintenance and upgrades.
Step-by-Step Guide to Documenting Your Home and Property
Step 1: Create a Google Drive Account
- Go to Google Drive and click “Go to Google Drive.”
- Sign in with your Google account. If you don’t have one, click “Create account” and follow the prompts
 3. Recommended – Upgrade to Google Workspace Business Standard.
- Upgrading will make the process of sharing and organizing your much easier than a free account. Read this article explaining the difference. Benefits of Working with Shared Drives vs. Shared Folders in Google Workspace
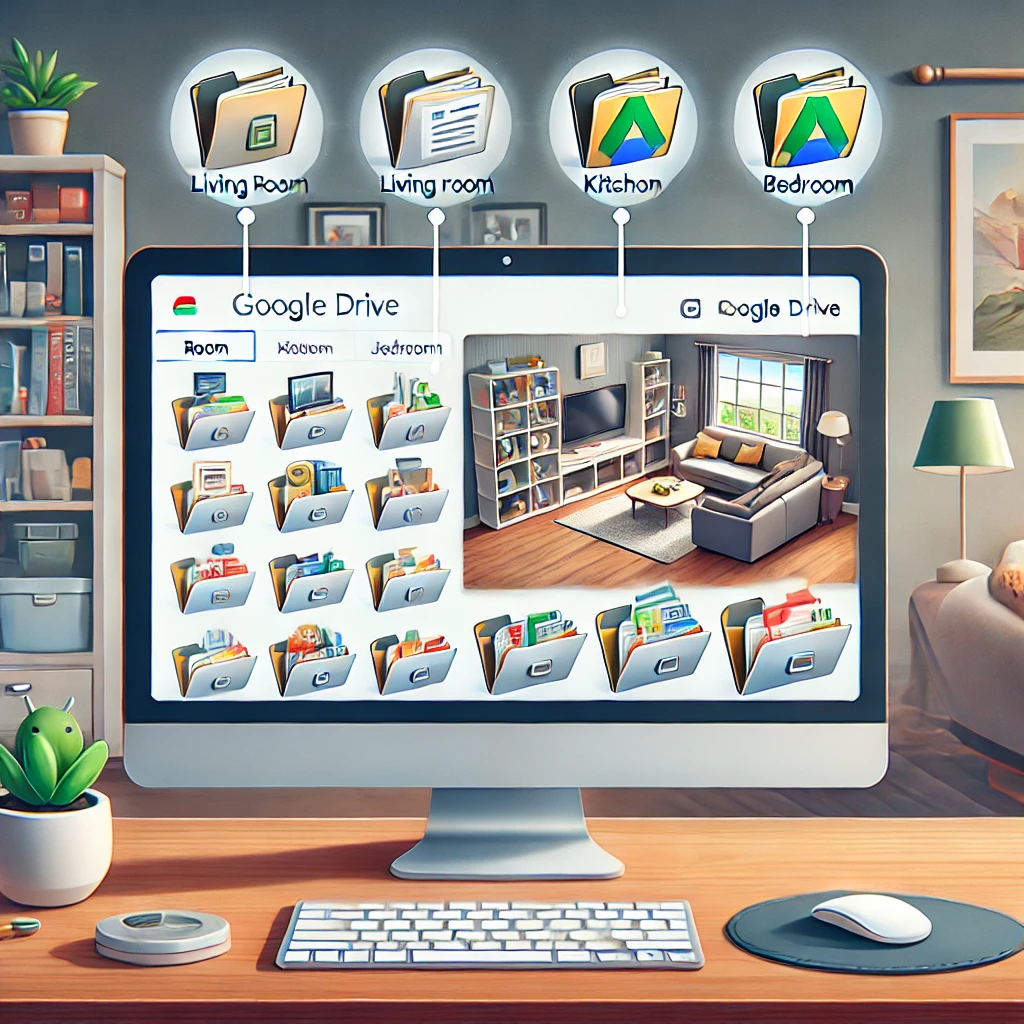
Step 2: Create a Shared Folder for Home Inventory
- Click on the “New” button on the left side.
- Select “Folder” and name it “Home Inventory.”
Step 3: Upload Photos and Receipts
The easiest way to do this is with your phone. Google Drive has a scan option that will identify the receipt. Only scan that and use AI to read and name the file. Take the time to rename them so they can be sorted logically. In the case of out-of-pocket expenses, always start with the dollar amount and then a description like “$3,500 Air-BNB-May-9-19-2024-Rent.”
- Open the “Home Inventory” folder.
- Click “New” and select “File upload” to upload photos and receipts from your computer.
- To upload directly from your mobile phone, open the Google Drive app, navigate to the “Home Inventory” folder, tap the “+” button, and select “Upload.”
Step 4: Use Your Mobile Phone to Scan Documents
- Open the Google Drive app.
- At the bottom, correct, tap the camera icon.
- Point your device’s camera at the document. A blue line outlines the document, indicating where the picture will be cropped.
- Take a photo of the document you’d like to scan.
- Optional: You can toggle automatic capture by choosing between Manual and Auto capture.
- Adjust scan area: Tap Crop & Rotate.
- Adjust the colors or make the image grayscale: Tap Filter.
- Erase stains, fingers, and more: Tap Clean.
- Scan another page: Tap Add Plus.
- Retake the photo: Tap Retake.
- Delete a page: Tap Delete. Adjust your scanned document:
-
Tap Done
-
Create your file name or select a suggested title.
-
To save the scanned document in a specific format, select .pdf or .jpg
-
Optional: To choose the Drive folder to save the document, tap Location.
-
To save the finished document, tap Save.
Step 5: Name Files Using Voice Commands
- You can use voice commands to rename files on your mobile phone. For example, say, “Hey, Google, open Google Drive.”
- Navigate to the file, tap on the file name, and use the microphone icon on your keyboard to dictate the new name. For example, “$500 jewelry bracelet master bedroom purchase from Tiffany”.
Step 6: Use a Naming Convention
Be consistent with naming your files to make them easy to find and organize. Here are some examples:
- “$500 jewelry bracelet master bedroom purchase from Tiffany.”
- “main bedroom, closet, chief Super Bowl sweatshirt.”
- “electronics, living room 65 inch HiSense HD Smart TV, $500 Amazon
Step 7: Share Your Google Drive Folder
- Open your “Home Inventory” folder in Google Drive.
- Click on the folder name and select “Share”.
- Please enter the email address of your insurance agent or anyone you need to share it with.
- Set the permission to “Viewer” or “Editor” based on what you want them to do and click “Send.”
Step 8: Document New Purchases
Anytime you buy something new, use your phone to take a picture of the receipt and the item. Name the files correctly and put them in the correct folder. Share the drive as needed, and you’re done.
- Additional Tips for Effective Documentation
- •Regularly Update Your Inventory: Make it a habit to update your inventory whenever you purchase new items or make significant changes to your home.
- •Back Up Important Documents: Store digital copies of important documents, such as IDs, passports, and insurance policies, in a secure cloud service.
- •Prepare a Disaster Plan: Develop a clear disaster response plan, including evacuation routes and emergency contacts. Ensure all family members are aware of the plan and know what to do.
Conclusion
By documenting your home and property using Google Drive, your phone, and your computer, you can ensure you are prepared for unexpected events. This proactive approach provides peace of mind and simplifies the process of filing insurance claims and safeguarding your assets. Start today and enjoy the confidence that comes with being prepared.
Bonus: Add a Scanning Shortcut to Your Home Screen
Set up a shortcut to scan documents directly from your home screen to simplify scanning documents.
- Open your mobile phone or tablet’s widgets.
- Find the “Drive scan” widget.
- Touch and hold the widget.
- Drag it onto your Home screen. You may be asked to select an account.
- Choose the folder where you’ll save documents. To create a folder, tap New Folder.
- Tap Select. You’ll see the folder name in the widget.

