When disaster strikes, whether it’s a fire, flood, or any other catastrophe, the immediate aftermath can be overwhelming. I know this firsthand. The day our home of 30 years caught fire, we were thrust into a chaotic situation, uncertain of what to do next. However, through the difficult journey that followed, we discovered a roadmap to recovery that can help you if you ever find yourself in a similar situation.
Here’s what to do after disaster strikes, and how you can recover more smoothly.
1. Contact Your Insurance Company
As soon as possible, get in touch with your insurance company. On the day of our fire, we reached out immediately. The insurance company set an appointment for the next business day—Monday—to meet with the adjusters at the site of the fire. This was when we were introduced to the claims process and learned that our insurance coverage would be broken down into two parts: one for the structure of the home and one for the property inside.
The structure would be handled by an engineering firm hired by the insurance company. They would determine the restoration and replacement costs for the home’s physical frame—walls, roof, foundation, etc. The property loss, on the other hand, would be managed by a different vendor who would create a comprehensive, itemized list of all the belongings that were lost.
The property inventory would include:
- The name of the item.
- The room it was in.
- How much it cost when purchased.
- The condition (new, good, fair, used, vintage, etc.).
This detailed list became the foundation of our recovery process, but creating it was no easy task.
2. Recreate Your Lost Inventory
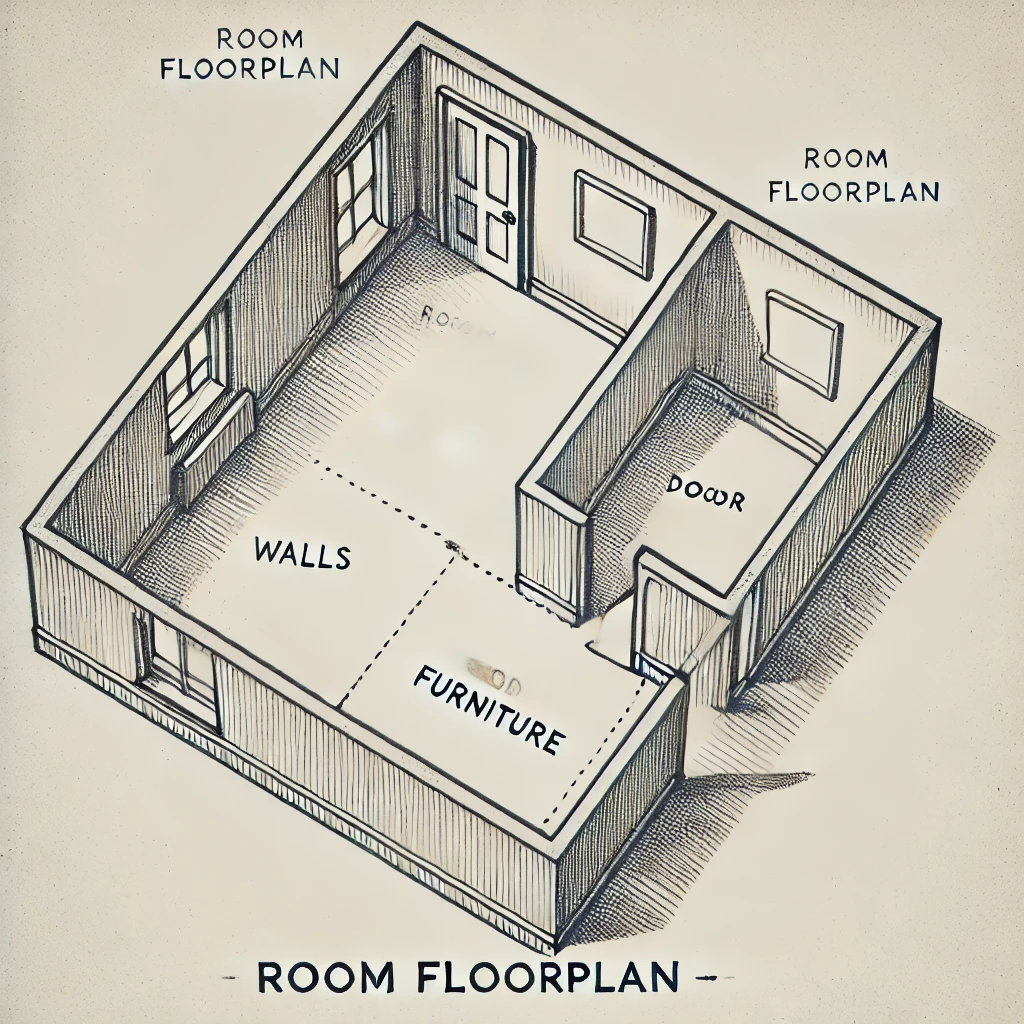
If you haven’t prepared an inventory of your home before the disaster, this is the next crucial step. Initially, we tried to make a list from memory, but we quickly realized it wasn’t enough. What worked much better was starting with a sketch of each room.
Here’s how you can do it:
•Sketch the Room Layout: On a pad of paper, quickly draw a rough outline of each room. Mark where the furniture was, noting the large items first.
•Add Items from Memory: Once you’ve outlined the furniture, start filling in the smaller details. What was on the coffee table? What items were in the closet? By organizing room by room, you can remember more specific details.
•Make Detailed Notes: For each item, record what room it was in, where it was purchased, how much it cost, and its condition before the disaster.
If you need a template to help get started, you can download a Room Inventory Template. This can help you organize your notes more efficiently and keep track of everything.
3. Save Your Receipts
Throughout this process, saving receipts is critical. Whether it’s for temporary housing, clothing, or food, these expenses can often be reimbursed by your insurance company. Keep a folder, both physical and digital, to store receipts.
We made use of Google Workspace to create shared drives where we uploaded digital copies of all receipts, floorplans, and photos. This not only kept everything organized, but it also ensured that nothing was lost. You can set up Google Shared Drives for free with a Google Account. Once your shared drive is ready, invite other family members or trusted individuals to collaborate.
4. Meet with Adjusters
When you meet with the insurance adjusters, be prepared. As I mentioned earlier, there will be separate adjusters for the structure and the property. Understanding the distinction between the two is important:
•Structure Adjuster: They will focus on the home’s physical damage and will work with the engineering firm to determine how much it will cost to repair or rebuild.
•Property Adjuster: This adjuster will go through the detailed inventory of your belongings. Be sure to provide your itemized list, floorplans, and any documentation you’ve collected.
If you followed steps to prepare beforehand, you can simply share your existing inventory and floorplans with the adjusters. If not, use the workbook templates to build your inventory and document everything from scratch. Here’s a link to another template that may help you during the process.
5. Understand Your Policy
Understanding your insurance policy is key to navigating the claims process. This can be one of the most overwhelming parts of the journey, especially when you’re dealing with the aftermath of a disaster. One resource that helped us was using ChatGPT to understand the details of our insurance policy. By asking questions like, “What does my policy cover for personal property?” or “How is the replacement cost calculated?” we were able to gain clarity. You can try using ChatGPT or another similar tool to break down your insurance terms and make sense of your coverage.
6. If You Were Prepared, Great—Share the Data
If you were prepared before disaster struck, congratulations! You’re ahead of the curve. Now it’s just a matter of sharing your pre-recorded floorplans, videos, and documents with the insurance company. If you’ve been using tools like Google Workspace, you can easily share these files with adjusters to expedite the claims process.
7. If You Weren’t Prepared, Don’t Worry—Start Now
But if you weren’t prepared—don’t panic. Start rebuilding your inventory room by room. Use sketches and notes, and refer to any old photos or videos you might have stored on social media or your phone. It’s a slower process, but with the right roadmap, you can still recover much of what was lost.
We’ve been through this, and we know it’s a difficult journey. But with these steps, you don’t have to navigate it blindly. Start by documenting everything you can, use templates and tools like Google Workspace, and reach out to professionals when you need guidance. Recovery is possible, and we’re here to help you along the way.
Suggested Images:
•A sketch of a room layout.

•A checklist of essential tasks after a disaster.
•An example of a shared drive folder organizing documents.
Suggested Templates:
•Lost Property Inventory Template
By following this roadmap, you’ll be better equipped to handle the aftermath of a disaster, ensuring a smoother recovery process.

